Food Photography Tips for Aspiring Food Bloggers
Capturing the perfect shot of your culinary creations can be as rewarding as the dish itself. For aspiring food bloggers, mastering food photography is essential to engaging your audience and showcasing your delicious recipes.
Food photography is an art that requires a keen eye for detail and an understanding of what makes an image appetizing. According to seasoned food photographer Linda Lomelino, “The secret lies in harnessing natural light and understanding your subject.” This advice is echoed by many industry professionals who emphasize the importance of lighting in food photography.
Lighting: The Cornerstone of Food Photography
Natural light is your best friend. Position your setup near a window to take advantage of soft, diffused light. Avoid harsh overhead lights as they can cast unflattering shadows. If natural light is unavailable, consider investing in a softbox or a light diffuser to mimic daylight.
Composition and Styling
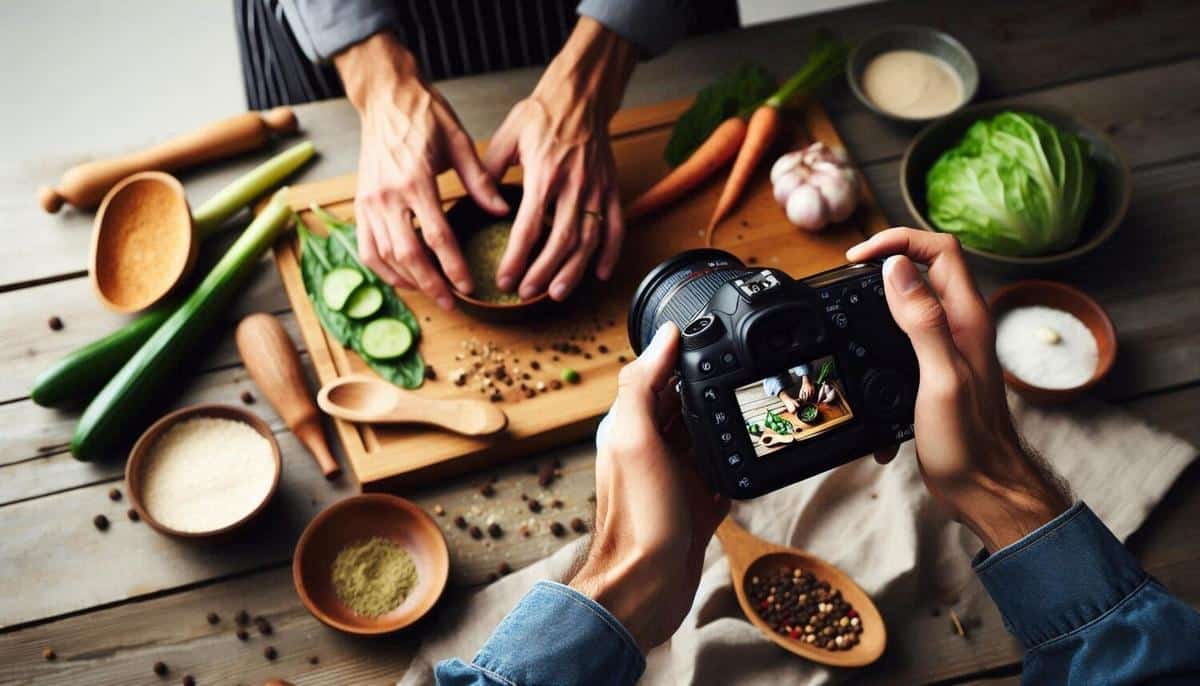
Composition plays a crucial role in food photography. Use the rule of thirds to create balanced and pleasing images. Experiment with different angles, such as overhead shots for flatlays or a 45-degree angle for depth. Styling your food with complementary props can also enhance the overall aesthetic. Plates, cutlery, and napkins in neutral tones often work best to highlight the food itself.
Props and Background
Choosing the right background can make your dish pop. Wooden boards, marble slabs, or simple white backgrounds are popular choices. Keep props minimalistic to avoid overshadowing the main subject. Remember, less is often more in food photography.
Editing for Final Touches
Post-processing is the final step in creating stunning food images. Softwares like Adobe Lightroom allow you to adjust exposure, contrast, and saturation to enhance your photos. Be cautious not to over-edit, as this can lead to unnatural-looking images.
| Tip | Description |
|---|---|
| Use Natural Light | Position near a window for soft lighting. |
| Invest in a Tripod | Ensure stability and avoid blurring. |
| Experiment with Angles | Try overhead and side angles for variety. |
| Simple Backgrounds | Use wooden or marble backgrounds to highlight food. |
| Minimal Props | Keep props simple to focus on the dish. |
| Editing Software | Enhance photos with tools like Lightroom. |
| Rule of Thirds | Create balanced compositions. |
| Neat Presentation | Ensure food looks tidy and appealing. |
Conclusion
By focusing on lighting, composition, and editing, aspiring food bloggers can significantly enhance their photography skills. Remember that practice is key. Experiment with different techniques to find your unique style. With dedication and creativity, your food photos will not only tantalize taste buds but also inspire other culinary enthusiasts.
Frequently Asked Questions
What type of camera is best for food photography?
While DSLRs are popular, many smartphones today have excellent cameras that can capture high-quality food images.
How can I make my food look fresh in photos?
Use a light mist of water or a brush of oil to give food a fresh, appealing look.
Is it necessary to use a tripod?
A tripod helps maintain stability and can be crucial for low-light situations where a steady hand is needed.
How do I avoid shadows in my photos?
Utilize natural light and reflectors to minimize shadows. Avoid direct overhead lights.
What are the best angles for food photography?
Overhead and 45-degree angles are commonly used to capture different aspects of a dish.


